Creating Bleed
What is full edge bleed?
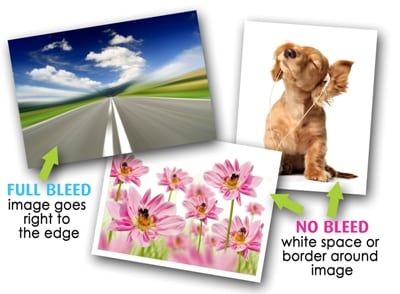
Bleed is the term for printing that goes right to the edge of the paper. Printed pieces that have a white border or white around the edges DO NOT have bleed. If you have images or backgrounds that you want to print (bleed) off the edges of the paper then you must design your job larger than the final cut size.
How to create bleed?
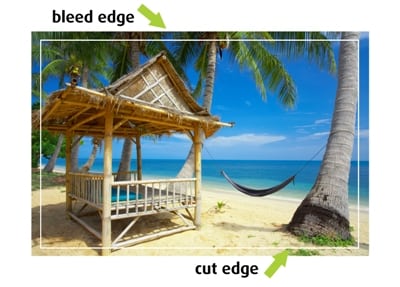
We recommend that you make your document 3-5mm larger than the final cut size on all four sides. Make your document size equal to the bleed size for example a business card (90mm x 55mm) with a 3mm bleed will need to be 96mm x 61mm. It may be helpful to place guides or crop marks 3mm in from these edges as this is where the document/card will be trimmed. Anything you want to bleed off the edge of the card must extend past your guides out to the bleed edge.
Why create a bleed?
If you want images or backgrounds to go right to the edge of the paper but don’t design your job larger than the final cut size and create bleed, then white may show around the edges when your job is cut. This is due to slight movement during the cutting process
Note: keep any important items (such as text) 3mm away from the cut edge to minimise the chance of trimming off by mistake as there is always some movement during the print process.


